Markdown to PDF with Pandoc and Typst
仓库:github.com/13m0n4de/pandoc-typst-catppuccin
自从团队使用 Obsidian 协作组织文档库以来,需要将 Markdown 转换为 PDF 的情况越来越多。Obsidian 的默认导出不好用,自定义功能太少,被逼无奈使用 Better Export PDF 了一段时间,边距、大纲书签以及页眉页脚等自定义功能不错,但它总是没法跟随我的暗色主题,自定义 CSS 又太过麻烦。
于是,我们写了个新插件。 可惜,我们还是继续凑合用着。
直到我们需要批量导出多个 Markdown。
Obsidian 没有给我编写自动化脚本的发挥空间(也许宏可以,但……太恶心了,而且没办法集成到 CI 里)。
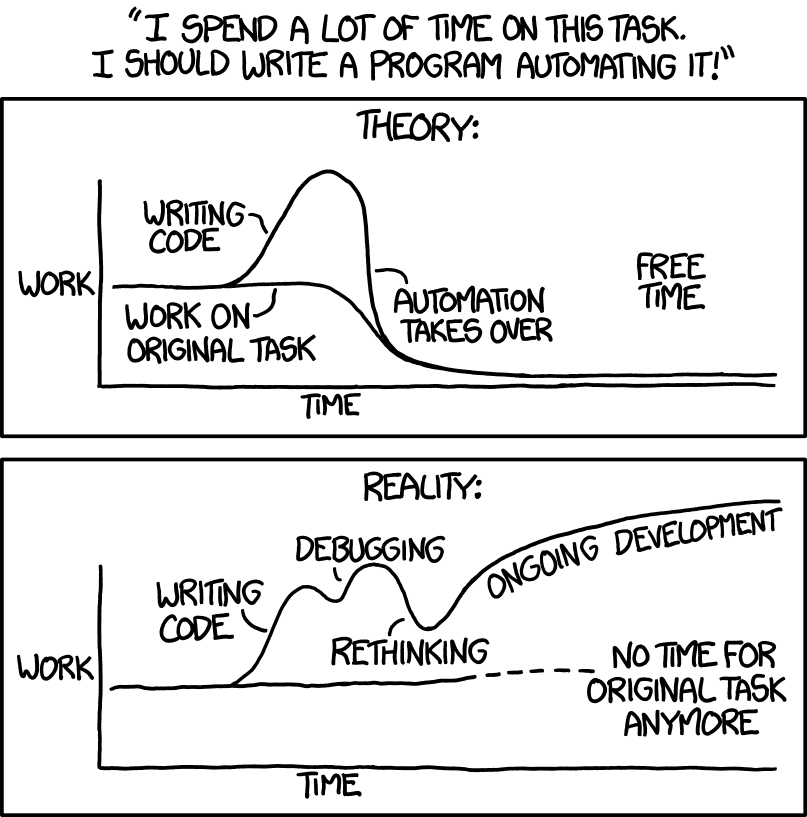
能花 6 小时写自动化脚本(然后失败),就绝不花 6 分钟动手完成它。
新的工作流
摆在前面的有两条路:在 Better Export PDF 基础上拓展插件功能,或者从头寻找 Markdown -> PDF 的方案。
这时又有了新需求:PDF 文件需要支持更精细的图文排版调整,为了某些需求文档。好吧,那就只剩下后者可选了。
很久以前用 Typora 编写 Markdown 文档时,它会要求安装 Pandoc 来导出 HTML、PDF 和图像以外的格式,同时我发现它也支持用 Pandoc 和 LaTex 生成 PDF。准确来说,是 Pandoc + 各种 PDF 引擎。
默认在命令行中使用 Pandoc 将 Markdown 转换为 PDF 时,会提示安装 pdflatex 或自选其他 PDF 引擎。
$ pandoc input.md -o output.pdf
pdflatex not found. Please select a different --pdf-engine or install pdflatex
以使用 pdflatex 转换为例,加上 --verbose 参数就能发现它其实是先生成临时的 .tex 文件,再调用 pdflatex 将 .tex 文件编译为 PDF。其中 .tex 文件根据 Pandoc 默认 LaTex 模板生成,也可以通过 --template=/path/to/custom.tex 来自定义。
所以通过制作自定义 LaTex 模板,就可以实现样式和排版可控的 Markdown 到 PDF 转换。
嗯,很好,但是 LaTex 太难用了,还有别的选择吗?
$ pandoc input.md -o output.pdf --pdf-engine xxx
Argument of --pdf-engine must be one of
    weasyprint
    wkhtmltopdf
    pagedjs-cli
    prince
    pdflatex
    lualatex
    xelatex
    latexmk
    tectonic
    pdflatex-dev
    lualatex-dev
    pdfroff
    groff
    typst
    context
LaTex 系列、HTML 系列、一些更传统的排版系统……哇,居然还有 Typst,完全没有被文章标题剧透呢。
使用 Pandoc 和 Typst 生成 PDF
Typst 是老朋友了,曾经用它写过很多课程文档、毕业论文,甚至汇报用的 PPT。除了语法上比 Tex 更舒适以外,它的一些编程特性用起来也相当舒服。
你可以用 pandoc -D typst 来输出默认模板,保存为 custom-for-pandoc.typst,然后将其作为自定义模板生成 PDF:
$ pandoc input.md -o output.pdf \
      --pdf-engine typst \
      --template=custom-for-pandoc.typst
但如果仔细看就会发现,Pandoc 的默认模板 default.typst 在格式化方面做得相当少,可以把它理解为针对 Pandoc 的模板。
它会调用 template.typst() 插入 template.typst 的内容(存有实际样式定义的文件)。除非传入 template 变量,那么将通过 #import 语句导入 conf。
$ pandoc -D typst | sed -n '30,34p'
$if(template)$
#import "$template$": conf
$else$
$template.typst()$
$endif$
所以一般情况,更合适的使用方式是编写针对于 Typst 的模板,内容参考官方的 template.typst,并使用 -V 参数传递变量:
$ pandoc input.md -o output.pdf \
      --pdf-engine typst \
      -V template=custom-for-typst.typst
命令很相似,但意义不一样。
Typst 模板
我最初的模板:catppuccin-typst.typ,大概长这样:
#import "@preview/catppuccin:1.0.0": catppuccin, flavors, get-flavor

// ...

#let conf(
  // ...
  mainfont: "LXGW Bright",
  fontsize: 11pt,
  sectionnumbering: none,
  pagenumbering: "1",
  doc,
) = {
  // ...

  show: catppuccin.with("macchiato")

  set text(
    lang: lang,
    region: region,
    font: mainfont,
    size: fontsize,
    weight: "regular",
  )

  // ...

  doc
}
在 conf 函数里去定义每种元素的样式,并且使用 catppuccin 包 的配色。
样式都比较简单,唯一值得一提的是实现了 Callout 引用块的功能(Github 叫它 Alerts):
#let conf(
  // ...
) = {
  // ...
  show quote.where(block: true): it => {
    let content-str = repr(it.body)
    let callout-match = content-str.match(
      regex("(?i)\[!(NOTE|INFO|TIP|SUCCESS|WARNING|CAUTION|IMPORTANT|DANGER)(\|[^\]]*)?"),
    )

    let border-color = if callout-match != none {
      let callout-type = upper(callout-match.captures.at(0))
      if callout-type in ("NOTE", "INFO") {
        current-flavor.colors.blue.rgb
      } else if callout-type in ("TIP", "SUCCESS") {
        current-flavor.colors.green.rgb
      } else if callout-type in ("WARNING", "CAUTION") {
        current-flavor.colors.yellow.rgb
      } else if callout-type in ("IMPORTANT", "DANGER") {
        current-flavor.colors.red.rgb
      } else {
        current-flavor.colors.overlay1.rgb
      }
    } else {
      current-flavor.colors.overlay1.rgb
    }

    set text(fill: current-flavor.colors.subtext0.rgb)
    block(
      fill: if current-flavor.identifier == "latte" { current-flavor.colors.crust.rgb } else {
        current-flavor.colors.surface1.rgb
      },
      inset: (left: 1em, right: 1em, top: 0.8em, bottom: 0.8em),
      radius: 0pt,
      stroke: (left: 4pt + border-color, rest: none),
      spacing: 1.2em,
      width: 100%,
    )[
      #it.body
    ]
  }
  // ...
}
如果有类似 Callout 语法的文本,引用块的边缘会被设置为不同的颜色:
> [!NOTE]
>
> Useful information that users should know, even when skimming content.
想要更加可配置
既然说是“最初的模板”,那之后呢?
之后是更加的偏执和贪婪,我想要更多参数可配置,比如可以控制 Catppuccin 主题风味,可以控制字体、边距……一切。
于是我又在 default.typst 的基础上修改创建了一个新的“为 Pandoc 而作的模板”,在其中给 conf 函数增加了几个参数。我的仓库中同时出现了两个模板文件,一个给 Pandoc 一个给 Typst,太混乱了。
但是,还算能用……只要你忽略自定义选项时输入的一大堆命令,再忍受非常容易混淆的文件名和参数:
$ pandoc input.md -o output.pdf \
    --pdf-engine=typst \
    --template=catppuccin-pandoc.typ \
    -V template=catppuccin-typst.typ \
    -V flavor=macchiato \
    -V mainfont="LXGW Bright" \
    -V codefont="Hack Nerd Font"
好吧,完全不好用。
转念一想,如果我需要更多选项,那我就不该单独为 Typst 编写模板了。我应该直接将它们二合一,只在 --template= 参数中使用,我把它命名为 catppuccin.typst:
$ pandoc input.md -o output.pdf \
    --pdf-engine=typst \
    --template=catppuccin.typst \
    -V flavor=macchiato \
    -V mainfont="LXGW Bright" \
    -V codefont="Hack Nerd Font"
同时再创建一个 Default File catppuccin.yaml,让我可以使用默认设置:
$ pandoc input.md -o output.pdf -d catppuccin
最终
- 模板文件:catppuccin.typst
- 默认配置文件:catppuccin.yaml
用的时候只需要将文件安装到 pandoc 用户数据目录,就可以在任何位置使用了:
$ mkdir -p ~/.local/share/pandoc/{templates,defaults}/
$ cp catppuccin.typst ~/.local/share/pandoc/templates/
$ cp catppuccin.yaml ~/.local/share/pandoc/defaults/
毕竟是自用,这份模板没有做太多排版,只是模仿了 Obsidian 默认的导出样式。如果团队需要制作其他类型的文档,也可以按照这个思路创建更复杂的模板。
如果需要更精细的调整,也可以先应用模板导出 .typ 文件,手动编辑后再使用 typst compile 编译成 PDF:
$ pandoc input.md -o output.typ \
    --template=catppuccin.typst
$ # Manually edit the .typ file
$ typst compile output.typ